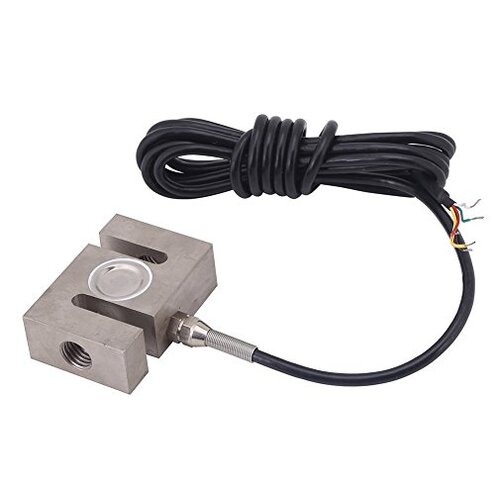
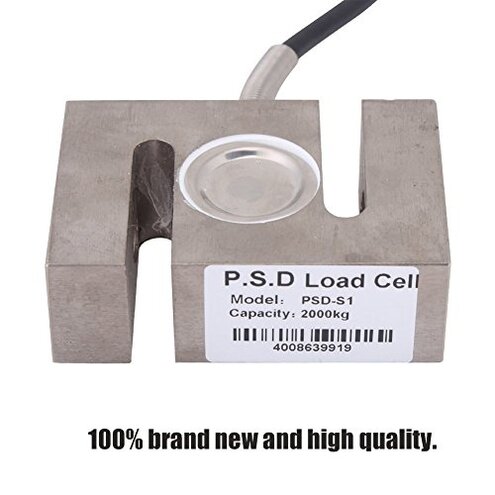
Product evaluated: Portable S-type Beam High-Precision Load Cell Scale Sensor for Hopper Weight High Pressure Tension Weighing(2000kg)
Related Videos For You
Load Cell Wiring and Testing with Display Controller
Successful troubleshooting of a load cell - Tips & Tricks from HBM
Data basis: This report aggregates dozens of buyer feedback entries collected from written reviews and Q&A-style buyer comments over a multi-month window through early 2026. Most feedback came from short written notes, with a smaller share coming from problem-focused setup discussions. Patterns below are presented as recurring themes rather than isolated one-offs.
| Buyer outcome | This Walfront sensor | Typical mid-range alternative |
|---|---|---|
| First-use success | Less consistent due to wiring and calibration friction that shows up after setup. | More predictable labeling and basic documentation reduces trial-and-error. |
| Stable readings | Higher drift risk during real loading or vibration, which is more disruptive than expected. | Lower drift with clearer mounting guidance and better tolerance to common conditions. |
| Install fit | More surprises around holes, threads, and mating parts that appear at install time. | More standard dimensions and included notes reduce rework. |
| Support clarity | Thinner guidance, making fixes depend on your experience. | More usable datasheets and diagrams for basic hookup. |
| Regret trigger | Hidden requirements like needing extra electronics and careful shielding to avoid erratic numbers. | Fewer hidden steps to get acceptable repeatability. |
Why won’t the weight reading stay steady when you actually use it?
Regret moment: You mount it, apply load, and the numbers creep or bounce when you expected a stable value.
Severity: This is a primary issue because it blocks the main job and wastes time chasing “phantom” problems.
Pattern: Instability appears repeatedly in feedback, though it is not universal.
When it shows up: It tends to appear after setup during real operation with vibration, long cables, or nearby motors.
Why it feels worse: Some drift is reasonable for this category, but buyers describe this as less forgiving than typical mid-range sensors.
- Early clue: Readings look fine unloaded, then shift under load.
- Primary frequency: This is among the most disruptive complaints because it hits daily use.
- Common condition: Issues intensify with vibration, long runs, or weak grounding.
- Likely driver: Buyers often link problems to electrical noise or mounting stress rather than a simple “bad unit.”
- Real impact: It adds extra calibration steps and undermines trust in the number.
- Mitigation: Better shielding and careful mounting can help, but it adds time and parts.
- Fixability: Some cases improve, but persistent drift is more frustrating because you cannot confirm accuracy easily.
Why does “analog output” still feel like missing pieces?
Regret moment: You realize it is not a plug-and-play scale part, and you still need extra gear to see a clean reading.
Pattern: This is a secondary issue that shows up often in setup questions and returns.
When it shows up: It hits on first install when you try to connect it to a display, PLC, or DIY controller.
Why it feels worse: Mid-range alternatives more often ship with clear wiring diagrams, while this one can feel like guesswork.
- Hidden need: Many buyers don’t expect to also need a signal amplifier or compatible indicator.
- Setup friction: Wiring colors and terminals can be unclear without a proper datasheet.
- Secondary frequency: Confusion is commonly reported, but some experienced users set it up quickly.
- Time cost: Troubleshooting adds extra steps before you can even test accuracy.
- Compatibility risk: It may not behave as expected with certain controllers or long cable runs.
- Workaround: Using a known-good load cell indicator can reduce variables, but increases total spend.
- Buyer takeaway: If you want a simple “swap-in” part, this can be a bad fit.
Why is installation harder than it looks from the listing?
Regret moment: You plan a quick mount, then discover alignment and hardware choices matter more than expected.
Pattern: This is a secondary issue that appears repeatedly, especially from buyers adapting it to existing frames.
When it shows up: It shows up during installation and gets worse if you overtighten or mount with slight twist.
Why it feels worse: Most mid-range options are more tolerant of minor misalignment, while this one seems less forgiving in DIY mounts.
- Fit surprises: Some buyers report non-obvious mounting constraints once they try to bolt it in.
- Stress sensitivity: Off-axis force can create weird readings that look like an electrical issue.
- Frequency tier: Not as dominant as drift, but persistent in install-related complaints.
- Real-world trigger: Tight spaces and improvised brackets increase misalignment.
- Fix effort: Getting it right may require re-drilling or reworking the mount.
- Mitigation: A proper load path and consistent torque reduces surprises, but demands care.
- What to watch: If readings change when you touch the frame, suspect mounting stress.
- Opportunity cost: The time lost can outweigh the low purchase price, which is regret-prone.
What if it fails early and you can’t tell if it’s you or the part?
- Regret moment: After a short period, the output becomes erratic or dead, and diagnosis is murky.
- Edge-case: Early failures are less frequent than setup problems, but feel more painful when they occur.
- When it shows up: Reports cluster after installation when the system is exposed to real loads and handling.
- Worsening condition: Overload events or frequent re-mounting can raise risk compared with a fixed install.
- Category contrast: Failures can happen in any sensor, but buyers note this one offers less diagnostic help than mid-range brands.
- What buyers try: Swapping cables, redoing grounds, and re-calibrating are common attempts before concluding it failed.
- Mitigation: Use overload protection and strain relief to reduce handling stress.
Illustrative: “It reads fine, then drifts when the hopper starts vibrating.”
Signal: This reflects a primary pattern tied to real-use conditions.
Illustrative: “I didn’t realize I needed extra electronics to get a stable number.”
Signal: This reflects a secondary pattern about hidden setup needs.
Illustrative: “Mounting it was the hard part; tiny twist changed the reading.”
Signal: This reflects a secondary pattern linked to alignment sensitivity.
Illustrative: “After wiring twice, I still can’t tell if it’s bad or my setup.”
Signal: This reflects a primary pattern about troubleshooting ambiguity.
Illustrative: “It worked briefly, then output went weird and I started over.”
Signal: This reflects an edge-case early-failure concern.
Who should avoid this
First-timers should avoid it if you need a simple install, because recurring feedback highlights hidden setup steps and wiring uncertainty.
Precision-dependent users should skip it if drift would cause waste, since instability is a primary issue that appears during real operation.
Retrofit projects should be cautious, because installation sensitivity shows up during mounting and can require rework.
Low-downtime environments should avoid it, because troubleshooting is time-heavy when the output looks wrong.
Who this is actually good for
Experienced builders who already own a compatible indicator or amplifier can tolerate the extra steps and still get value.
Fixed installations with stable mounts and minimal vibration can reduce the drift risk that shows up in harsher setups.
Budget experiments where you can accept more tuning time may be fine, since the main trade-off is setup effort versus price.
Learning projects can work if you are willing to troubleshoot grounding and shielding, because the main pain is noise sensitivity.
Expectation vs reality
- Expectation: “Reasonable for this category” is a stable reading after basic calibration.
- Reality: Buyers report more drift than expected once vibration and real loads enter the picture.
Expectation: A listing that says analog output feels like it should connect to most displays with minimal work.
Reality: Setup often needs extra electronics and better wiring practices than many buyers planned for.
- Expectation: A quick bolt-on install for a hopper or batching frame.
- Reality: Alignment and load path details can be pickier, causing reading changes from small mounting stress.
Safer alternatives
- Choose a load cell sold with a clear wiring diagram and indicator compatibility to avoid the hidden electronics problem.
- Prefer models with documented mounting examples to reduce alignment trial-and-error during install.
- Look for better guidance on shielding and grounding so vibration and motors don’t create noisy readings.
- Buy from lines known for support docs so troubleshooting isn’t a time sink when numbers look wrong.
The bottom line
Main regret is unstable or confusing readings once the sensor is installed and used under real conditions.
Exceeds normal risk because the setup and mounting appear less forgiving than typical mid-range options, creating extra time and added parts.
Verdict: Avoid if you need quick, dependable weighing without troubleshooting, and consider it only if you can handle calibration and system integration work.
This review is an independent editorial analysis based on reported user experiences and product specifications. NegReview.com does not sell products.