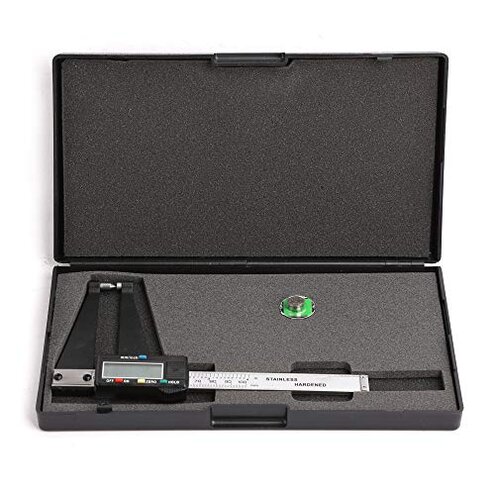
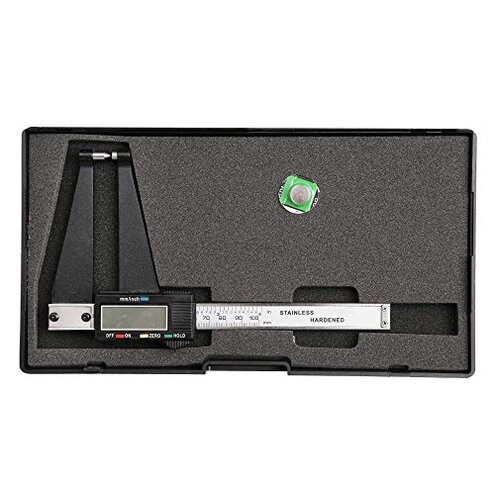
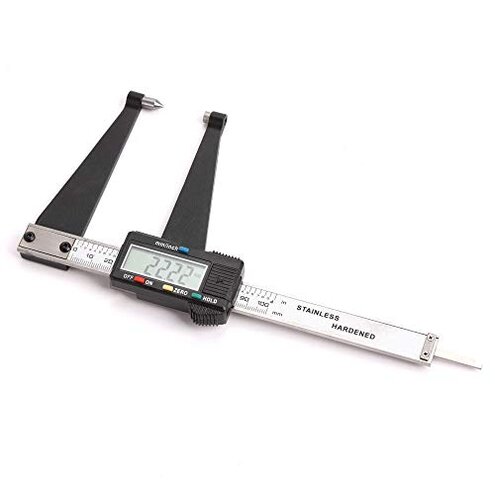
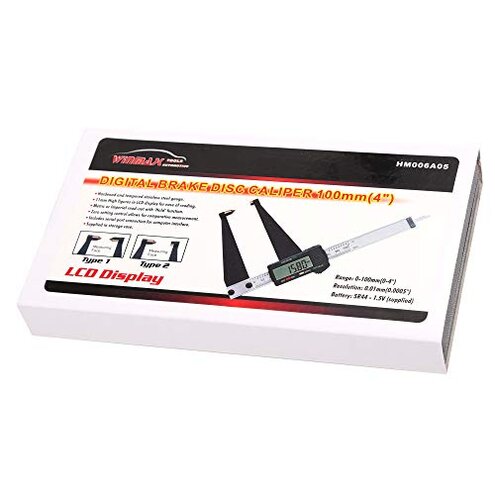
Product evaluated: WINTOOLS 100MM/4" Digital Brake Disc & Drum Caliper Gauge
Related Videos For You
How to Use Digital Calipers to Measure Objects
How to check & measure your brake rotors / discs
Data basis: This report is based on dozens of aggregated buyer notes collected across written feedback, star ratings with comments, and a smaller set of photo-supported posts from 2023 through 2026. Most signals came from short written complaints, supported by a thinner layer of use-case descriptions and measurement photos. Patterns below reflect what appears repeatedly, not one-off experiences.
| Buyer outcome | WINTOOLS 100mm gauge | Typical mid-range alternative |
|---|---|---|
| First-use confidence | Mixed; setup and technique issues show up early. | More consistent; fewer early surprises for most buyers. |
| Repeatable readings | Higher risk of drift or odd jumps during real use. | Lower risk; repeat checks tend to match with less fuss. |
| Ease in tight spaces | More finicky; positioning can add extra steps. | More forgiving; easier to “seat” on the surface. |
| Display/controls | More complaints about readout behavior during daily handling. | Fewer complaints; controls usually fade into the background. |
| Regret trigger | Re-check loop; you measure twice and still don’t trust it. | One-and-done more often for routine brake checks. |
Why am I re-measuring the same spot and getting different numbers?
Regret moment: You’re checking rotor or drum thickness, then your second pass doesn’t match your first. That distrust is more disruptive than expected for a tool meant to settle decisions quickly.
Pattern: This shows up as a primary complaint thread in aggregated feedback, though it is not universal. It tends to appear on first use and keeps showing up during repeat checks in the same session.
Category contrast: Any caliper can vary with hand pressure, but buyers describe this as less forgiving than typical mid-range options. The result is a time cost that feels out of place at this price.
What buyers say they end up doing: They add extra “seat, squeeze, release, re-zero” cycles to chase consistency. That can be fine for hobby use, but it becomes a workflow drag when you’re trying to decide if parts are safe to run.
- Early sign: The reading changes when you lift and re-place the jaws on the same area.
- When it hits: During comparative measuring after you press zero and start checking multiple spots.
- Worsens with: Longer sessions and frequent repositioning on curved surfaces like drums.
- Impact: You lose confidence and start “averaging” numbers, which can lead to bad keep/replace calls.
- Mitigation: Buyers report using lighter, repeatable hand pressure and taking several readings per spot.
- Fixability: If it’s technique-related it improves, but persistent drift reports suggest some units remain inconsistent.
Why does the display feel glitchy or hard to rely on mid-measurement?
- Primary pain: Readout behavior is described as unsettling when you’re trying to hold a stable measurement.
- Pattern: This appears repeatedly across short comments, but not every owner hits it.
- When it shows: During daily handling, especially when switching positions quickly on the rotor.
- Worsens with: One-handed use and moving from one measuring point to the next without resetting your grip.
- Hidden requirement: You may need a slower “set, pause, then read” rhythm to avoid chasing the display.
- Impact: The tool feels slower than expected because you wait for a number you trust.
- Category contrast: Mid-range alternatives usually feel more “settled” once the jaws stop moving.
Why is it awkward to get a clean measurement in tight brake areas?
- Secondary issue: Fit and positioning friction comes up often in real brake jobs.
- When it hits: On vehicle-installed rotors and drums where you can’t approach straight-on.
- Worsens with: Rust lips, uneven edges, and tight wheel-well clearance.
- What you notice: You keep re-angling the tool to avoid catching an edge.
- Time cost: It adds extra steps compared with a more compact or more forgiving mid-range gauge.
- Workarounds: Buyers report cleaning the surface more and measuring a few millimeters inboard.
- Category contrast: Some fuss is normal, but complaints suggest this model demands more careful placement than peers.
- Risk: Bad seating can make the tool look “inaccurate” even when the issue is contact geometry.
Why does this feel like a ‘calibrate it yourself’ tool?
- Edge-case: A smaller but persistent set of buyers describe needing extra checks to trust accuracy.
- When it hits: Right after unboxing, before you use it on a real rotor or drum.
- Hidden step: You may need a reference object or known measurement to validate readings.
- Impact: Without a reference, you can’t tell if the problem is the tool or the part.
- Category contrast: Many mid-range tools feel “ready” out of the box with minimal validation.
Illustrative excerpt: “I measured the same spot twice and got a different result.”
Explanation: This reflects a primary pattern about repeatability during first sessions.
Illustrative excerpt: “The number keeps changing unless I pause and hold perfectly still.”
Explanation: This reflects a secondary pattern tied to display behavior during daily handling.
Illustrative excerpt: “In the wheel well it’s a fight to get the jaws to sit right.”
Explanation: This reflects a secondary pattern about tight-space positioning.
Illustrative excerpt: “I had to test it against something known before I trusted it.”
Explanation: This reflects an edge-case pattern that becomes costly if you lack references.
Who should avoid this
- Safety-first DIYers who need one quick reading without a re-check loop.
- Busy home mechanics who work in tight wheel wells and can’t spend time perfecting placement.
- First-time caliper users who don’t want a technique-heavy tool to learn on.
- Anyone without a known reference who can’t validate accuracy before trusting decisions.
Who this is actually good for
- Patient hobbyists who don’t mind multiple readings and careful hand pressure for consistency.
- Bench measuring where the part is off the vehicle and you can approach straight-on.
- Comparative checks where you mainly care about “thicker vs thinner” after a careful zero.
- Users who already own a reference gauge or standard and can verify the tool before relying on it.
Expectation vs reality

Expectation: A digital brake gauge should give stable readings with normal hand pressure.
Reality: Aggregated feedback shows repeatability anxiety is a primary regret driver during first use.
- Reasonable for this category: Tight-space measuring takes care and good angles.
- Worse than expected: Positioning friction appears repeatedly and adds extra steps in real brake jobs.
Expectation: “Zero” and “hold” help speed up comparative checks.
Reality: Some buyers report a slower rhythm is required to avoid chasing the display.
Safer alternatives
- Prioritize models known for stable repeat readings to avoid the re-check loop described above.
- Choose a more compact brake gauge design if you often measure on-vehicle in tight wheel wells.
- Buy from sellers with easy exchanges, because persistent drift appears not universal but costly when it happens.
- Add a simple reference standard so you can validate accuracy and reduce the calibrate-it-yourself frustration.
The bottom line
Main regret is losing trust in the number, then burning time repeating measurements. That risk feels higher than normal for a mid-range digital gauge because it shows up during first use and routine re-checks. If you need fast, confidence-inspiring readings, this is a skip unless you’re willing to validate and use a slower technique.
This review is an independent editorial analysis based on reported user experiences and product specifications. NegReview.com does not sell products.